
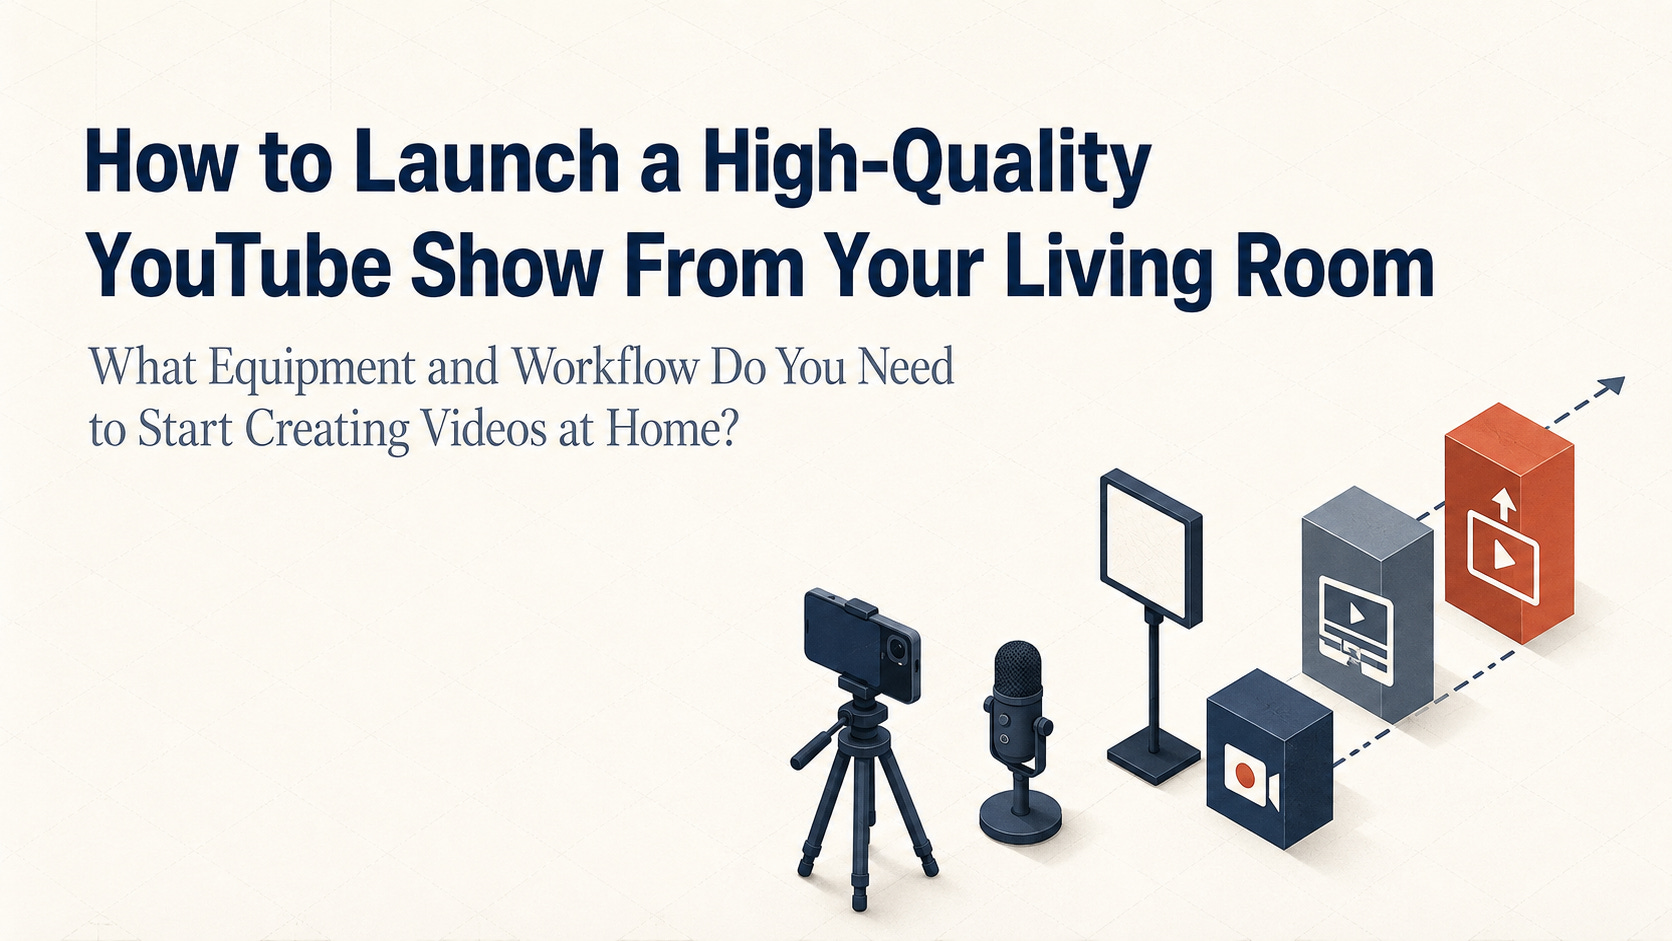
You can produce a credible YouTube series without turning your home into a studio. This guide covers the setup that matters—clean sound, simple lighting, stable framing, and a format you can repeat—then walks through planning, recording, editing, publishing, and reviewing each episode.
Quick Answer
A solid home YouTube setup can be as simple as your phone, a tripod, a microphone close to your mouth, and one soft light. Decide what the show promises before buying gear. Then use the same outline, setup, file system, and publishing routine for every episode. Upgrade only when the current setup causes a specific problem.
Part I: The Core Framework
A home-based YouTube show is a recurring series you can plan, record, edit, and publish from the same space. The room itself matters less than the experience: viewers need to hear you clearly, understand the subject quickly, and know what kind of value the next episode will bring.
The expensive mistake comes early. A new creator starts comparing cameras, lenses, teleprompters, lights, and editing software before deciding what the show is supposed to do. The gear arrives, but the format is still vague and every episode has to be invented from scratch.
Define the Show Before You Build the Set
Before you buy anything, complete this sentence:
This show helps [specific viewer] achieve or understand [specific result] through [repeatable episode format].
For example:
“This show helps first-time business owners understand one confusing money problem each week through a ten-minute breakdown and a real-world example.”
That sentence settles more than it seems. It identifies the audience, subject, episode rhythm, approximate length, and likely visual needs. A seated financial breakdown calls for a different setup than a cooking demonstration, two-person interview, or home-repair tutorial.
Give the show a few recurring parts. You might open with the problem, explain why it happens, demonstrate the fix, and close with one action the viewer can take. Reusing that structure cuts planning time and gives viewers a familiar rhythm.
Measure the Viewer’s Journey
YouTube’s analytics guidance groups video performance into appeal, engagement, and satisfaction. The title and thumbnail influence the click. The opening affects whether people stay. The rest of the episode has to justify the promise and give them a reason to return. YouTube explains that framework in its Content tab analytics guidance.
Camera sharpness is only one part of production quality. A beautiful image will not rescue a vague title, a slow opening, or an episode that never delivers what the thumbnail suggested. Clear sound, a useful idea, and tight explanations usually deserve the first share of your time and budget.
For the first few months, track how many good episodes you can finish with the time you actually have. If a weekly video takes twelve hours and your schedule gives you five, something has to change. Use fewer camera angles, shorten the episode, simplify the edit, or publish twice a month. Another piece of gear will not fix a time shortage.
Build the Minimum Viable Studio
For a solo seated show, the baseline setup is short:
A phone or camera that can record clean 1080p video
A stable tripod or desk mount
An external microphone placed close to your mouth
A window or one soft, controllable light
Wired headphones for checking the recording
An editing device with enough storage for the footage
Audio deserves early attention because distance and room reflections can make an expensive microphone sound hollow. Shure recommends a quiet, soft-furnished room and a distance of roughly three to six inches when speaking into a dynamic microphone. Its recording guide also calls for a thirty-second test and headphone monitoring before the full take.
Too much complexity stops more shows than a basic camera does. A three-light, two-camera setup with a word-for-word script and custom animation can turn one ten-minute episode into several days of work.
My rule for the first three episodes is straightforward: use one strong camera angle, make the voice easy to hear, light the face evenly, clear the distracting clutter, and follow the same outline. Once those episodes are finished, you will know which limitation is worth paying to remove.
Get the format, audio, and one camera angle working first. The paid section below turns that basic setup into a production system you can run week after week.
Continue for the equipment guide, room setup, recording checklist, episode template, editing sequence, export settings, publishing workflow, and performance review system.
